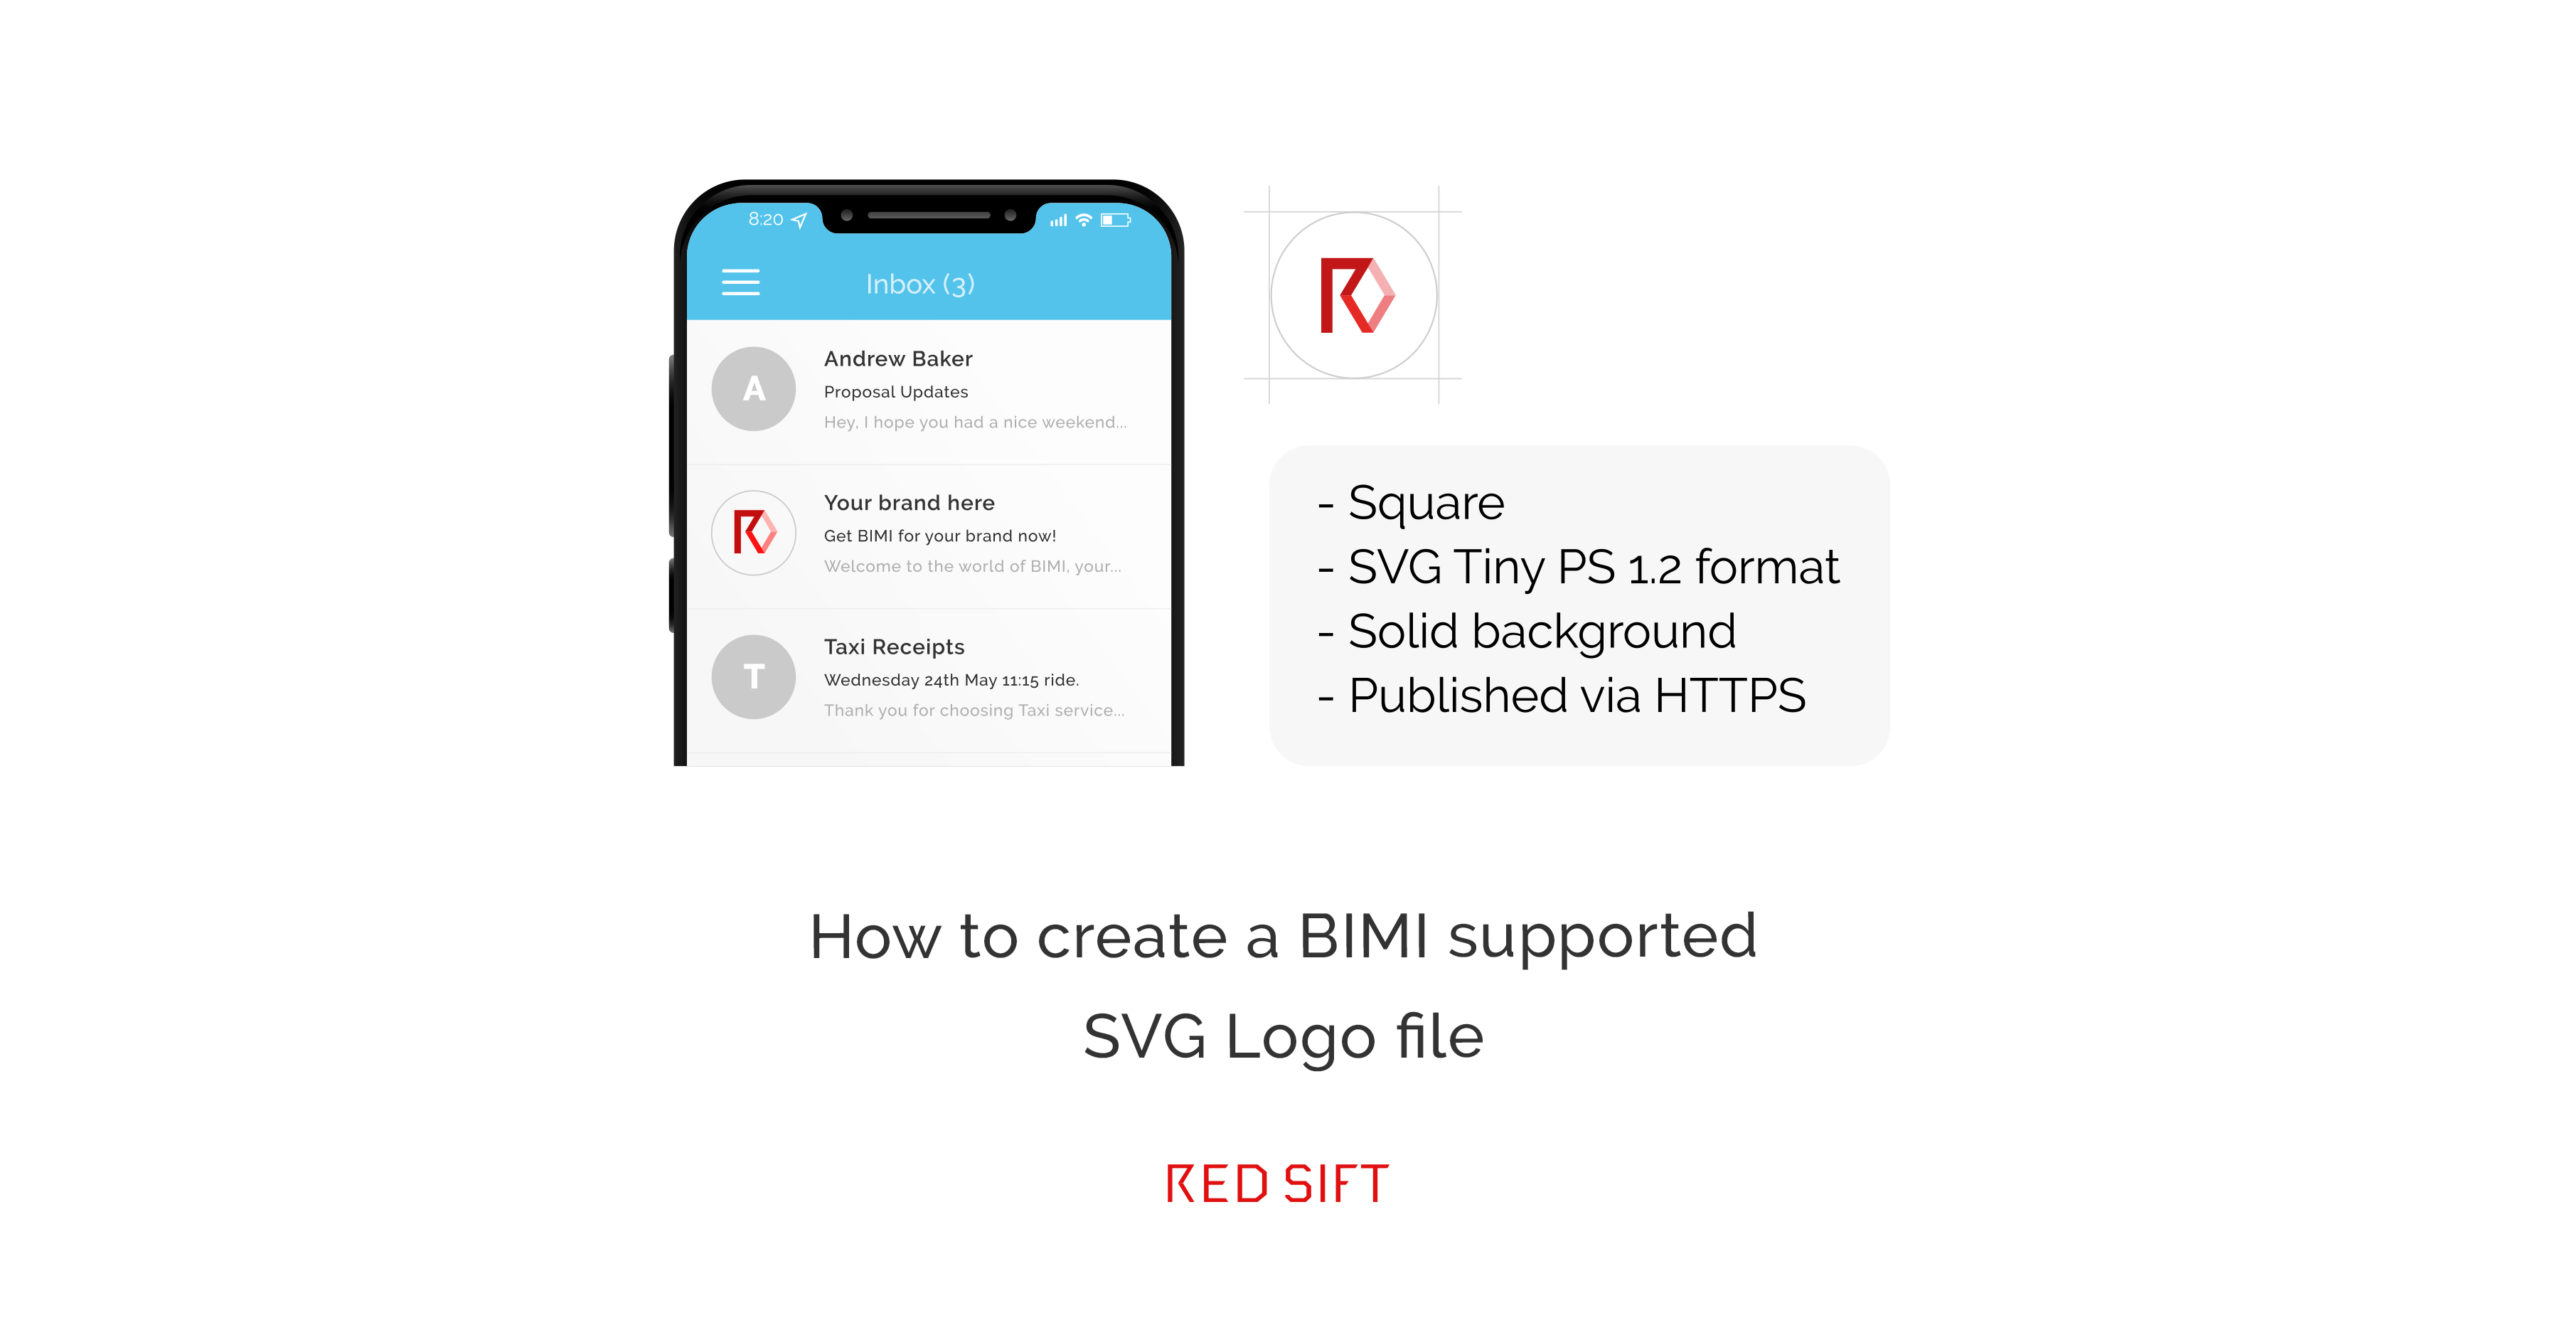
BIMI (Brand Indicators for Message Identification) is a standard that displays validated trademarked logos for all DMARC authenticated emails. Before the logo can be displayed in the inbox, it must meet a number of specific requirements.
BIMI only supports Scaleable Vector Graphic Tiny Portable/Secure 1.2 format (SVG Tiny-PS 1.2). This specific SVG format was chosen by the BIMI Working Group as it is highly secure and lesser prone to potential malware or tracking-related vulnerabilities. Compared with popular bitmap formats like GIF, JPG, and PNG, the vector graphics are made out of lines and curves that can be scaled infinitely without loss of detail. SVG is often smaller in file size, loads quicker, and adapts to responsive sizing.
How to prepare your SVG file ready for BIMI
Using the SVG editor of your choice (we’ve used Adobe Illustrator for demonstration purposes), you can prepare your SVG file for export by following these simple steps:
1. Inspect the objects within the “Layers” panel to make sure there are no bitmaps, linked files, texts or groups.
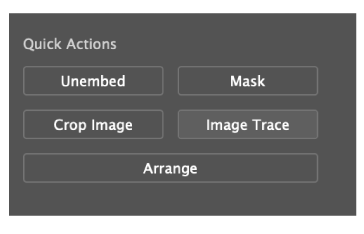
2. If your logo is image-based (contains embedded JPG or PNG files), the best option is to ask the designer of the logo to modify the file so that it is a fully vector-based file. If not, you can use the Trace Image button to convert your image into a graphic.
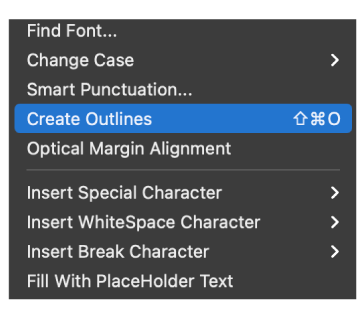
3. SVG files should not contain text objects, which appear in the “Layers” panel as “Type”. To meet the requirements, select your text layer and select the “Create Outlines” option from the “Type” menu.
4. Finally, you’ll need to ungroup all groups to make sure exporting the SVG is a smooth process. Select all objects from your “Layers” panel using Ctrl+A and select the “Ungroup” option in the “Object” menu. You may have to repeat this process until all groups in the document are ungrouped.
Top tips for a better-displayed BIMI logo
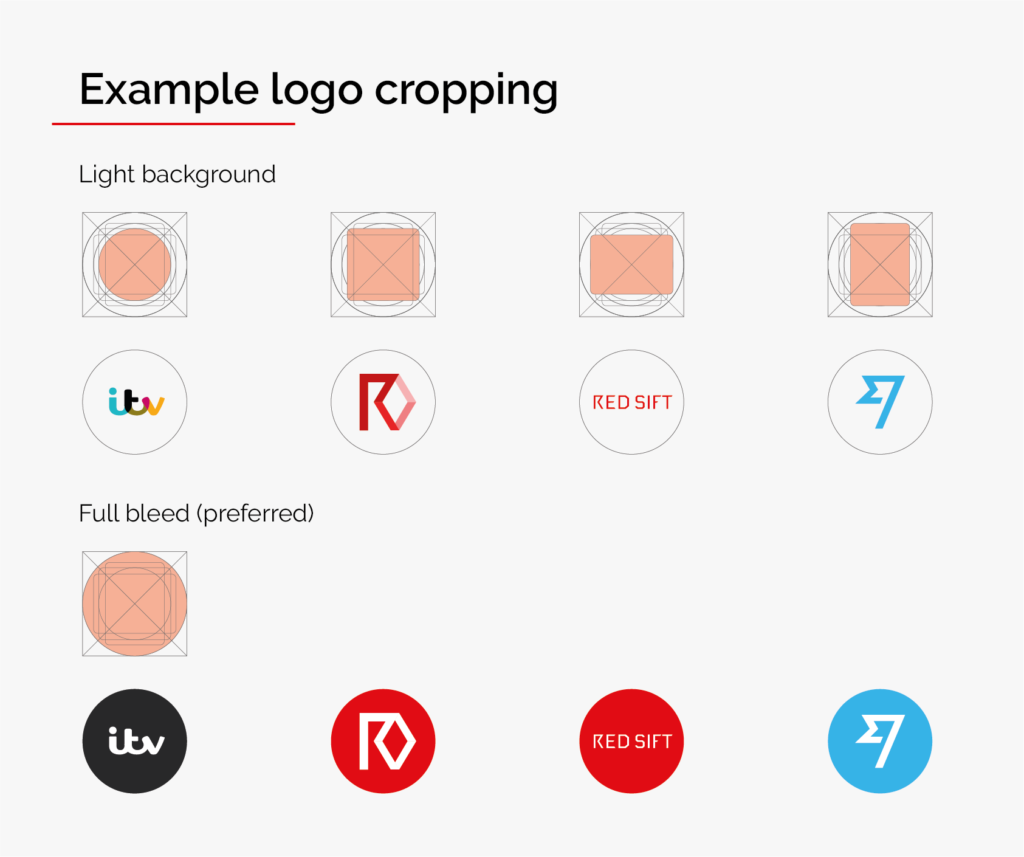
- Images are best with a square aspect ratio (1:1).
- The image should be centered so that it displays optimally in a square, a rounded square, or a circle.
- Non-transparent backgrounds are best, as rendering of transparency can be unpredictable.
Exporting as a SVG Tiny-PS 1.2 file
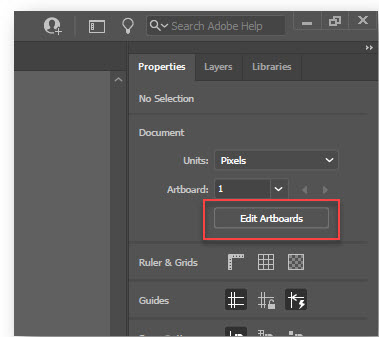
Since a BIMI SVG logo must use square dimensions with a 1:1 aspect ratio, the height/width of the SVG image must be the same. To achieve this, you can “Edit Artboards” within Adobe Illustrator.
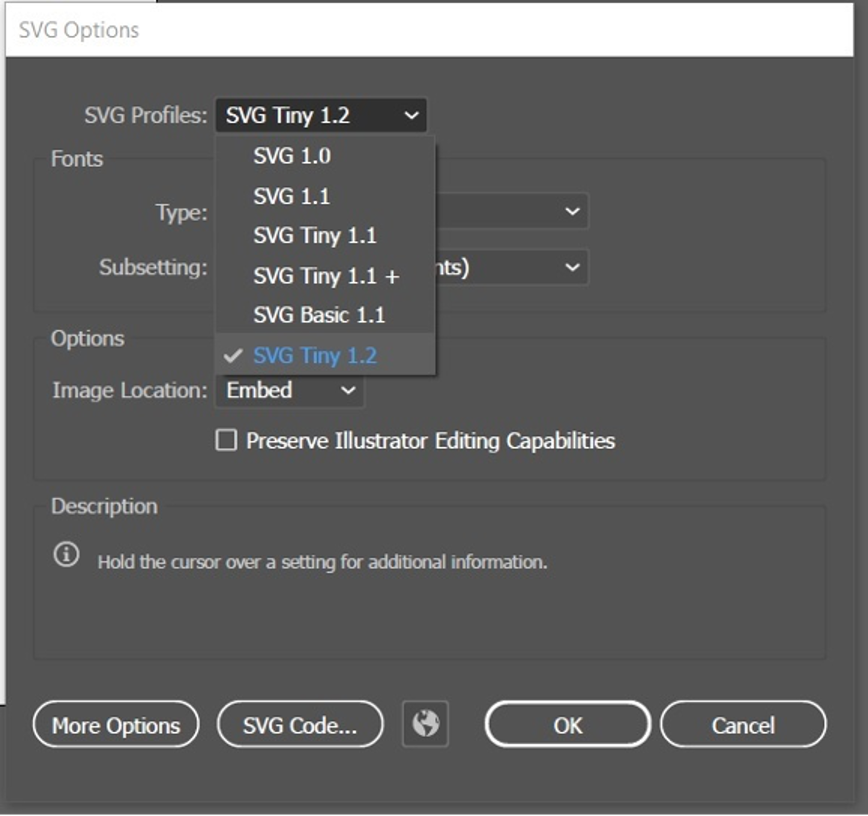
When you are ready to save your file, click ‘File > Save As’. This will bring up a dialog box, where you can name your file. Make sure the file format is set as SVG and not SVG compressed.

Once clicked, an SVG dialogue box will popup entitled “SVG Options”. In the “SVG Profiles” dropdown, select “SVG Tiny 1.2” and ensure the “Image Location” is set to “Preserve”. Finally, click on the “SVG Code” button to review the code, which opens up in a file editor. Make sure that the file contains version=”1.2” and baseProfile=” tiny”. There should be no base64, meaning Adobe Illustrator was able to create a vector-only version of your logo.
Editing the code within a Text Editor
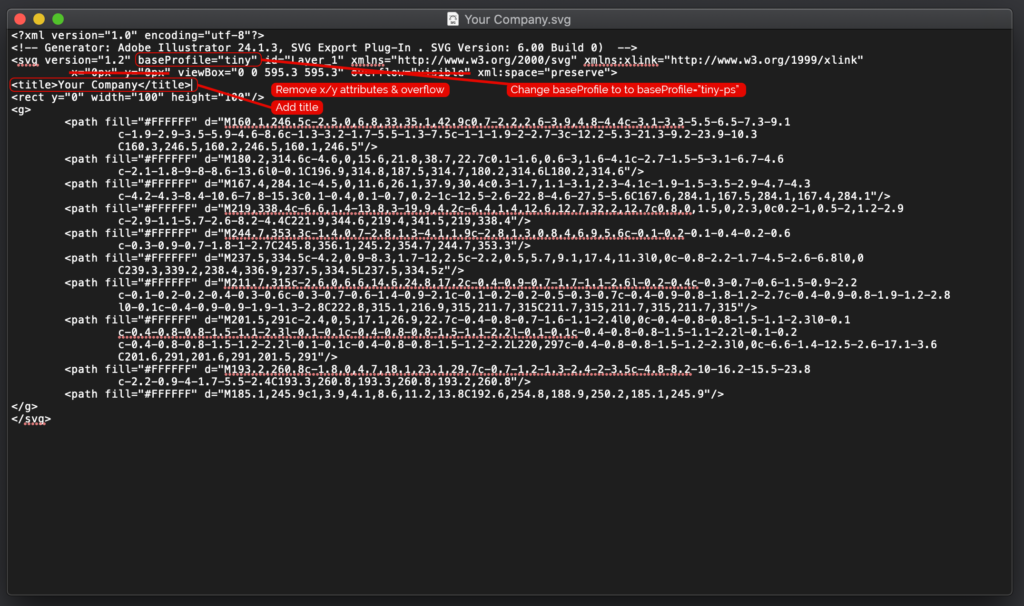
Next, you’ll need to open your SVG file in a text editor (e.g., Notepad or Notepad++), or a code editor like Sublime Text, Visual Studio Code, or similar. Complete the following steps to clean up the code:
- First you need to find the baseProfile=”tiny” and replace it with baseProfile=”tiny-ps”.
- Next, find the x=”0px” y=”0px” from the line starting with <svg as seen on the image. The same element also often contains overflow=”visible” attribute that needs to be removed as it is not supported by BIMI SVG standard.
- Then, you need to add the required <title> tag into your SVG below the <svg …>. The purpose of the title is to provide accessibility so that it reflects your brand.
- Finally, Save the file.
Uploading your SVG logo to OnDMARC
OnDMARC and Entrust – your one-stop shop for implementing BIMI
We have partnered with Entrust, one of two Google-approved certification authorities, to provide the only integrated BIMI and VMC integration available on the market. This is a game-changer for users who now don’t have to navigate different platforms and providers to reach the right DMARC policy and apply for a Verified Mark Certificate in order to be BIMI-ready. By using OnDMARC, users are able to successfully take care of both these actions from a single pane of glass, with full support from industry specialists included.
If you’re looking for a market-leading, integrated BIMI and VMC solution, with full support from DMARC implementation through to logo advice and submission, contact us to book a consultation today.
Additional resources
- Learn more about what BIMI is, how it works and why it matters.
- Check to see if your brand could display a BIMI logo using our free BIMI Checker tool.
- Find out which companies have already implemented BIMI with our unique BIMI Radar tool.
- Discover the 7 things you’ll wish you knew before implementing BIMI.
- Find out more about our innovative partnership with Entrust, giving you a one-stop shop BIMI solution.
- Use the BIMI Working Group’s SVG Conversion tools.

